Friday, August 31, 2018

Duck Redo (Graphic Novel filter)

The original image was a very dark duck. Attempts to lighten it up with HDR produces purple fringing, a little bit of which you can see in the second image below. The top image is the Graphic Novel edit. The bottom image is the Graphic Novel layered into the color HDR. Thanks for stopping by and looking at my pictures! :)


Thursday, August 30, 2018

Mystery Bird Redo with AuroraHDR, Graphic Novel filter

I can't find the information that I had recorded on this bird. The EXIF information says that I edited the file in 2015, but I can't find the post. I suspect it's a phoebe, and it wasn't the greatest photo (having the sky as background, it made some weird outlines when processed with HDR.) The first time around editing this image (3rd image below,) I tonemapped it with Photomatix and then processed it with a dry brush filter and then used another editing program to give the picture an old-timey, black and white frame. This time around, I processed the HDR with AuroraHDR, and then I took it to Photoshop Elements for its Graphic Novel filter (image 1 below), which I then colorized by layering the original crop into the GN image (image 2 below). Thanks for stopping by and looking at my pictures! :)


Monday, August 27, 2018

Chickadee on the Deck in the Rain (Graphic Novel filter)

The original is on top, the Graphic Novel edit is in the middle, the colorized Graphic Novel is on the bottom. I think that the colorized GN version did what I was hoping it would do; while the eye is discernible in the original, I think that layering the Graphic Novel image and the original together made the eye (and other details) a little bit better defined. Thanks for stopping by and looking at my pictures! :) 


Friday, August 24, 2018

Brighten Up, Dark Junco (Graphic Novel filter)

I started out with a rather dark image of a Junco.


I processed a 3 "exposures" of a Graphic Novel filtered image in Photoshop Elements, which I then photomerged in AuroraHDR.


I used a bright filter (producing a... brighter image than the one pictured above,) into which I then layered my top image at 60% opacity in Photoshop Elements.


And that's it! Thanks for stopping by and looking at my pictures. :)

Thursday, August 23, 2018

Another Junco Redo (Graphic Novel filter)

I had previously edited this image as a stamp filtered image. This time I tried it as a Graphic Novel filtered image. First, I processed an HDR image using AuroraHDR. Then, I made several exposures of a Graphic Novel filter image (the head was dark, and I wanted to bring out the eyes). Next, I put the GN images together in AuroraHDR, and then I brought the file back to Photoshop Elements to layer the color image into the BW Graphic Novel filter image. I like this one better than the previous stamp filtered image. Thanks for stopping by and looking at my pictures!

Somewhat original image:


Graphic Novel filter:


Colorized GN image:


Image as previously edited:


Wednesday, August 22, 2018

Junco Redux (Graphic Novel filter)

This is more of an "apples to apples" comparison, as I had processed this same Junco image six months ago using AuroraHDR and the Photoshop Elements Graphic Novel filter. The black and white version is much better defined and less splotchy; the colorized version is not as dark.

What I did this time around was I took the original image and processed several different exposure levels on AuroraHDR for a composite HDR image. When I tried processing that file with the Graphic Novel filter, I really didn't like how it turned out. So, I processed several different exposures using the Graphic Novel filter, took those files back to Aurora HDR, and brought the resulting HDR Graphic Novel image back to Photoshop Elements, where I layered the color image into the file.  

Here is the BW Graphic Novel image from 6 months ago:


And here is the recently processed version:


Here is the older colorized version:


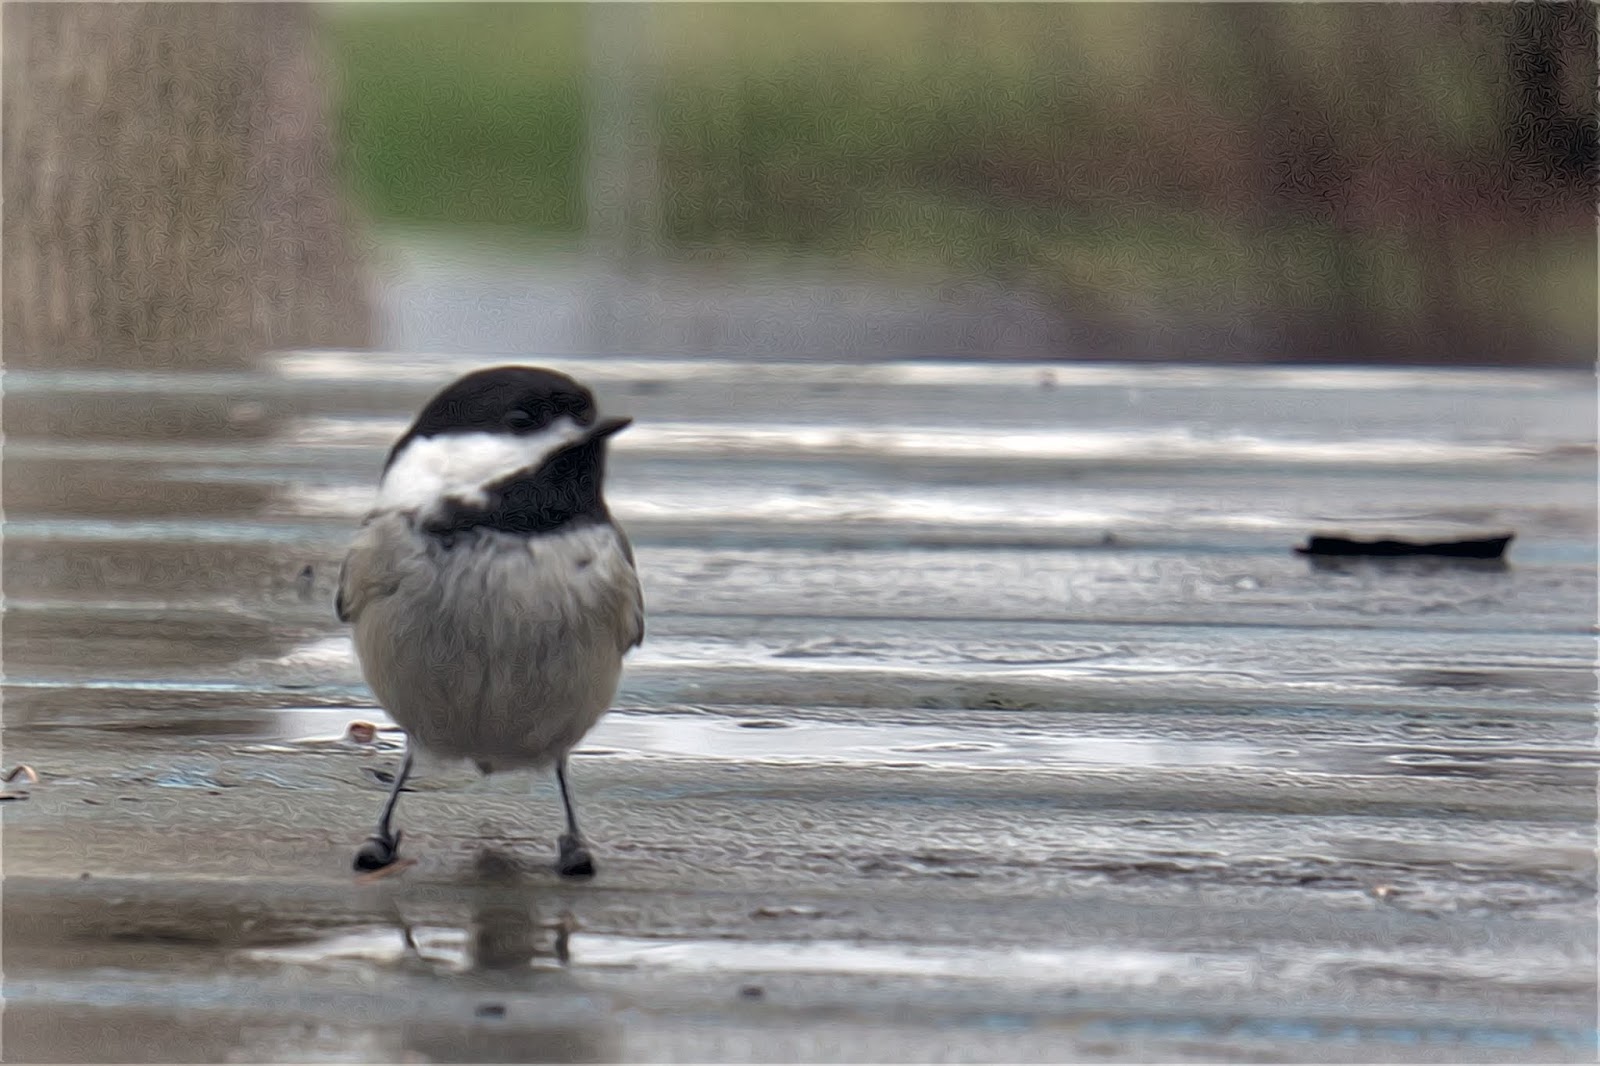
And here is the one that I processed yesterday.


Thanks for stopping by and looking at my pictures! :)

Sunday, August 19, 2018

Chickadee at the Feeder (redo) (Graphic Novel filter)


I like how the Graphic Novel filter can be used to really bring out the lines in an image. I processed this one first with AuroraHDR, and then used the Aurora image with Photoshop Elements' Graphic Novel filter (top image), and then I merged the color image into the Graphic Novel version. Thanks for stopping by and looking at my pictures! :)

Saturday, August 18, 2018

House Finch at the Feeder (Redo) (Graphic Novel filter)

I took an old house finch at the feeder photo, one that I had processed before, and I used AuroraHDR to process the HDR elements of the picture this time. I first made several exposures levels using one of the "dreamy" presets. I then processed the image one more time with the same dreamy filter. 


I then went back and processed the merged dreamy image with one of the Architecture HDR presets. This gave the image some sharp definition for the Graphic Novel filter that I would use in Photoshop Elements.


Here is the BW Photoshop Elements Graphic Novel filter image.


And to colorize the above image, I used the "dreamy dreamy" image that I created (first in the list above) and layered it into the above BW Graphic Novel filtered image. 


 Thanks for stopping by and looking at my pictures! :)

Friday, August 17, 2018

Dreamy Junco (Graphic Novel filter)

Following yesterday's post of the failed Junco image, I tried another one from the same set. This time I created six TIF images in AuroraHDR using the Dreamy preset, only changing the exposure level (by increments of one, going from 0 to 5). I then exited the program and loaded all of the images back in to have them merged together into one file, resulting in the following image. (Note how much more visible the eye is today than it was in yesterday's image.)


I took the above image and processed it with the Graphic Novel filter in Photoshop Elements:


And then I layered the 0 exposure level Dreamy edit (the darkest one) into the above image, asked Photoshop Elements to do its auto editing magic, and... voila...


I think maybe I like the top image the best for its color, but I like having figured out how to make the eye visible on what starts out as a somewhat darker image. Thanks for stopping by and for looking at my pictures! :)

Thursday, August 16, 2018

Junco (Graphic Novel filter) (Redo)

I'm not sure this image came out as well on my second go around as it did on the first. (Not that the first was all that impressive, but I liked the way that I brought out the eye the first time, whereas I just couldn't find it with the AuroraHDR-Graphic Novel combination.) Thanks for stopping by and looking at my pictures! :)

New images:


From last time:


Wednesday, August 15, 2018

Tuesday, August 14, 2018

Female Finch (Redo)(Graphic Novel filter)

Here is what I did the last time I edited this image. I worked with Photoshop Elements' Dry Brush filter.


This time...


I cropped the image in Aurora HDR (above).


I processed a separate HDR image, which I used in Photoshop Elements with the Graphic Novel filter.


Finally, I layered together the original color and the graphic novel filter. And that's my photo redo!

Thanks for stopping by and looking at my pictures! :)